
Explore this content with AI:
I recently wanted to purchase a watch and browsed through a couple of brands that I am aware of. Not satisfied, I left it as such and eventually forgot about it. But the brand never forgot about it, because ever since, I have been constantly bombarded with images from their store. This is the power of Retargeting. What started out as a naive 5-minute browsing session turned me into a lead who is now being constantly coerced into buying the watch. And I might eventually. But how do brands achieve this? Let us do a deep dive into this article and find out how you, too, can retarget your website visitors with Facebook ads and convert them.
Retargeting used to be straightforward: install a Pixel, build audiences, and chase visitors around the web until they buy. Today, it’s more complex but also more powerful, thanks to AI, privacy changes, and evolving Meta systems. What this really means is you must understand how retargeting works today, what still matters, and how you actually set it up to drive sales.
Let’s talk more!
What Retargeting Really Is?
Retargeting (also called remarketing) shows ads to people who’ve already interacted with your brand, they visited your site, engaged with your content, or took an action but didn’t convert.
Warm audiences convert at much higher rates than cold ones because they already know you. That’s why retargeting remains one of the most efficient ways to increase ROI and recapture lost customers.
What are Facebook Retargeting Ads?
Facebook retargeting is when you make a list of people who have visited your website and then target them with ads. That is the simple answer. But why do you want to do that? Because people who visit your website are already aware of your brand and might have even thought of buying from you. This makes them a “warm” audience.
Ask any marketer you know, and they will assure you that converting this “warm” audience is much easier compared to “cold” ones. Because cold audiences are generally not aware of your business and would require at least 7 touchpoints with your brand before they convert.
But how does Facebook have all this data? Well, it is all because of a little guy called Facebook Pixel. This small JavaScript code, when embedded into your site, tracks the activities of your users. And based on this data, Facebook will target these users on their profile with relevant ads regarding your brand. And this is how Facebook is being privy to this information.
Pro Tip: If you do not have Facebook Pixel setup, then you are doing a major disservice to your business, so go set it up today!
What Changed in 2025?
Meta’s ecosystem shifted enough that retargeting today isn’t just “follow them everywhere.” Two major updates matter:
1. Privacy controls are stronger
Users have more options to limit tracking. This means your retargeting audiences may be smaller or partially anonymized unless tracking and permissions are set up properly.
2. Meta’s AI fills gaps in your data
The algorithm now uses behavioral signals, on-platform engagement, predicted intent, and AI-driven patterns to strengthen your audiences. So while custom audiences still matter, Meta blends your inputs with its own predictions.
Sell More via Facebook 💰
TRY FOR FREE
Types of Facebook Retargeting
There is an easy and a hard way, and this is how you do them:
1. Website Traffic Retargeting
Built from Pixel and Conversion API data. You can target visitors by:
- Time spent on site
- Product pages viewed
- Add-to-cart actions
- Checkout abandoners
- Past purchasers (for upsell/cross-sell)
This is your highest-intent group.
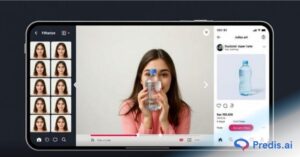
2. Engagement Retargeting
Some people never visit your site but interact heavily on Facebook or Instagram. You can retarget people who:
- Watched a percentage of your videos
- Clicked your CTA
- Engaged with your posts
- Messaged your page
- Viewed your Instagram profile
This is your mid-intent group.
3. Customer List Retargeting
Upload email or phone lists from your CRM or newsletter. Great for:
- Re-engagement
- Repeat sales
- Abandoned leads
- Course launches
- Seasonal promotions
This is your most controllable, first-party data segment.
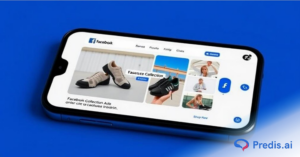
4. Dynamic Product Retargeting
Meta automatically shows people the exact products they viewed on your site. No guessing. No generic ads. Perfect for ecommerce brands.
How To Retarget Website Visitors with Facebook Ads?
Now that you have a fair idea of how and why retargeting happens on Facebook, it is time to see how you can benefit from it. So, here is a step-by-step approach to setting up Retargeting Facebook ads for your business:
1. Setting up Custom Audiences
The first step to retargeting your customers is to identify them and segment them into a custom audience.
Having a Facebook pixel set up is the first step, you now have to import this audience to your Ad Manager. And here is how you do it:
- In the main dashboard of the Facebook Ads Manager, click on the 4th icon from the top, which is the audience option.
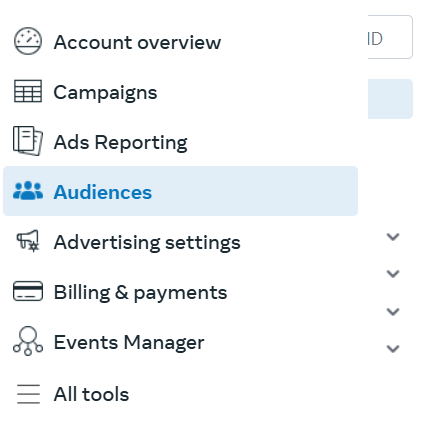
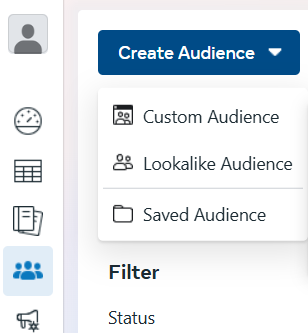
- After which, select the “Create a custom audience” option.
- In your audience source window, choose “Website” and click “Next”.
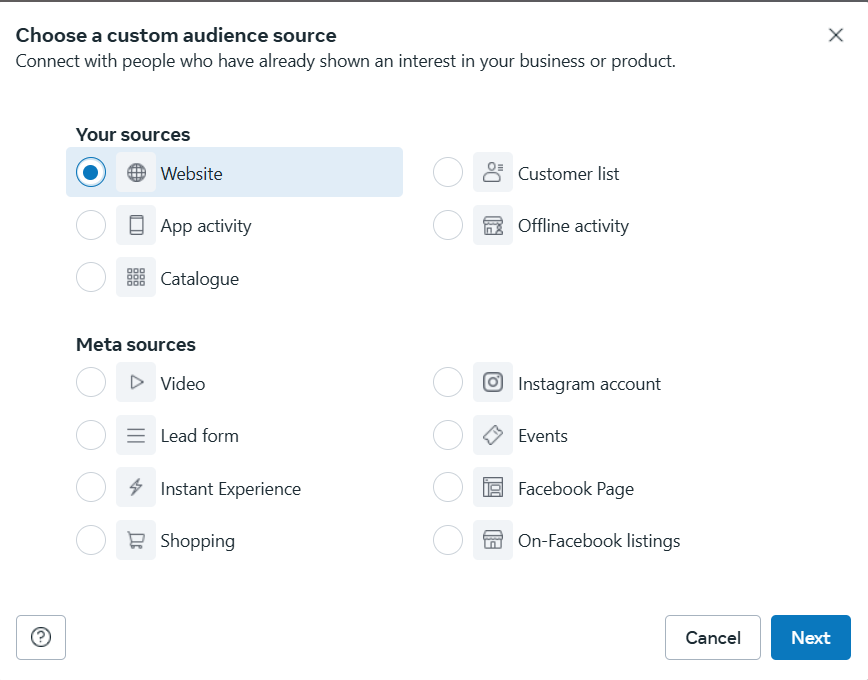
- Have your pixel set up and select “Any” of the following criteria. The default audience retention days is set to 30, which you could turn to 180 (maximum limit). These retention days mean the number of people who visited your site in the last 30 days would be selected to retarget.
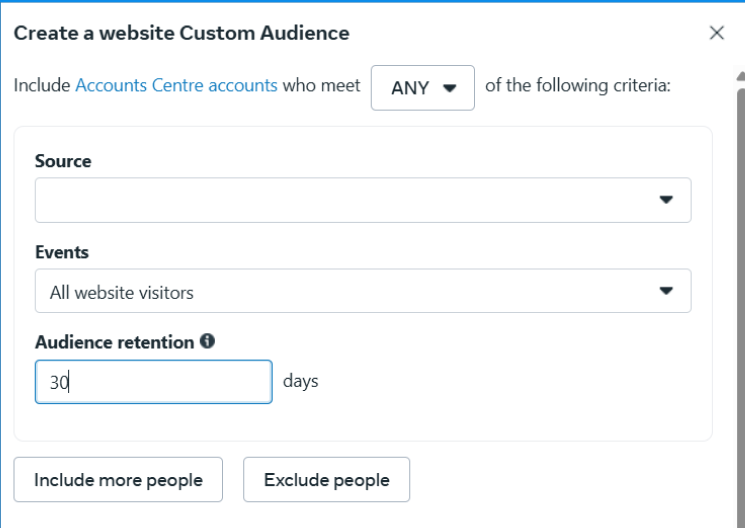
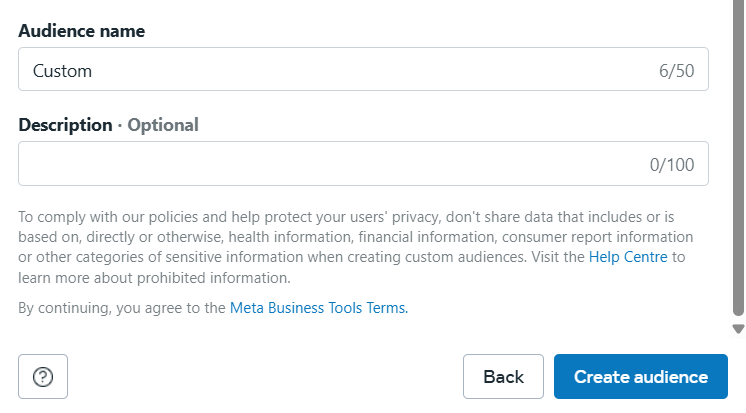
- Once all the requirements are filled, click “Create Audience” and your custom audience is done and dusted.
2. Creating an Ad campaign with Facebook Ad Manager
Now that you have taken the first step towards creating a custom audience, it is time to actually put this to work by creating an ad.
If you are a seasoned Facebook Ad Marketer, then you know what happens from this point onwards. But for the newbies, here is a question for you: Why are you retargeting these users? What is your end goal? Do you want them to complete a purchase, or do you want them to sign up for your site?
Once you have these priorities straight, you are set to choose the objectives for your Facebook ads, whether it may be awareness or conversion. If you are still not sure what benefits each of these objectives provides you with, you can select one and see the benefits listed beside it.
3. Decide on a Budget
Now this is where things get serious: deciding on a budget for your campaign. Unlike traditional forms of advertising, you do not require a huge budget to get started.
Facebook has removed the barrier for entry, thus making small agencies with limited budgets to get optimum results. So, set a budget that you are comfortable with and start testing the waters.
There is two ways you can set a budget: one is to have a daily budget and the other is to have a lifetime budget. You can select one based on your preference.
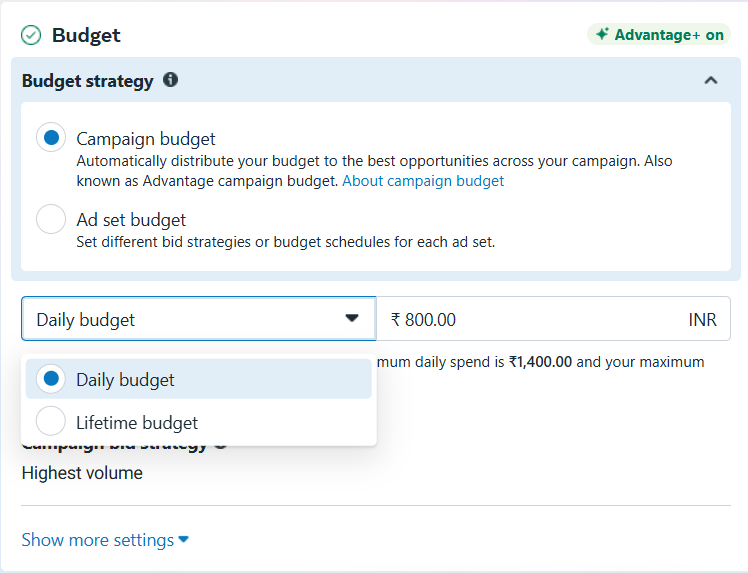
Pro tip: If you have a smaller audience to target, such as the cart abandoners, then you might not require a big budget. But if you are focusing on people who visited your site in the past 180 days, then the audience size is large, which demands a bigger budget.
4. Set Frequency
Ad Fatigue is very real. When your user sees your ad multiple times in a single day, they are going to consider you spammy. And what do we do with spam brands? We stay as far away as possible from them.
But, thankfully, there is a setting in Facebook Ads Manager that lets you cap the frequency at which your users see your ads. So, utilize this feature and find out the optimum frequency suitable for your audience.
5. Audience Control
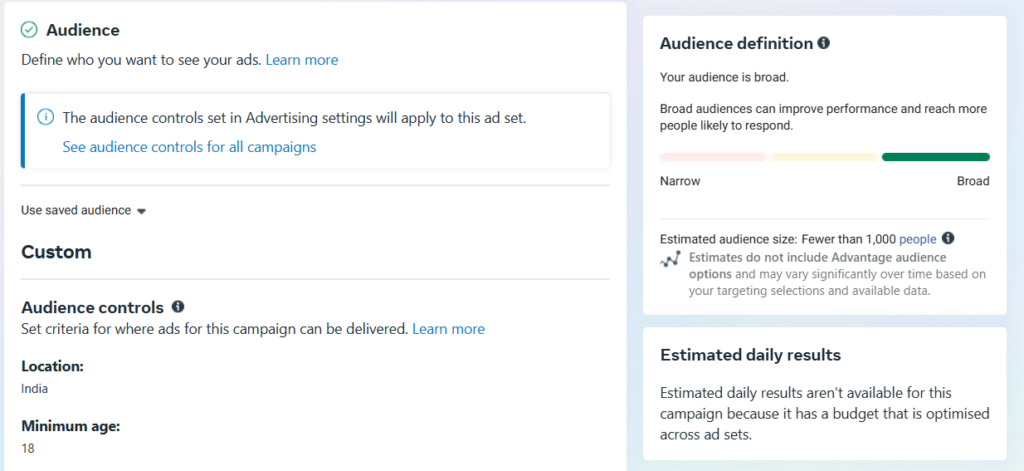
Remember all the trouble we went to to create a custom audience from your website visitors, this is where that comes in handy. In this setting, select the audience we saved already and use it to target your users.
6. Ad Placements
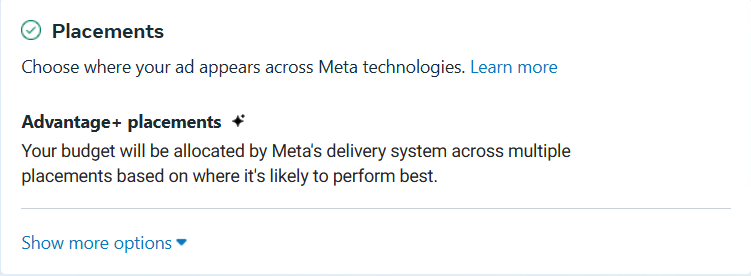
Next comes ad placements. This setting is to determine where you want your ads to be placed – Facebook feeds, Messenger, or so on.
Facebook has its own set of algorithms that will automatically place your ads in the best position to get maximum conversions. But if you want to do it manually, then there is this option for you.
But if you are new to this, we suggest you let Facebook do its thing in this area.
7. Upload your creatives
And we are in the final leg of uploading your Facebook ads, which is to upload your creatives. Facebook allows you to preview them on the same screen, set tracking, and conversions from this page itself.
Once everything is up to your expectations, then it is time to hit “Publish”. Your ad will then be under review for some time after which, it will be published.
8. Keep tracking and optimizing
Your job does not end with selecting “Publish”. The actual work begins here. After your ad goes live, make sure to track its performance, such as clicks and conversions. If any of the metrics is not working as per your expectations, then do a deep dive into the reason and optimize it for better results.
If you have no idea where to start optimizing, check out this beginner-friendly guide to know how.
Creative Formats That Perform Well in 2025
- Carousel ads
Perfect for ecommerce. Show the exact items they viewed along with related products. - Short videos
Retargeting videos keep people engaged longer and explain what was missing the first time. - UGC testimonials
Warm audiences respond well to real voices, not polished brand ads. - Offer-based ads
Limited-time promos for cart abandoners still work because they speak to the user’s stalled decision. - Benefits-focused single images
Simple, clear, and high-performing for service brands.
Timing, Frequency, and Budgeting
Retargeting needs balance. Too little and you won’t convert. Too much and people get irritated.
Retention windows
- High intent: 7–30 days
- Medium intent: 30–60 days
- Low intent: 60–180 days
Frequency
Aim for 3–5 impressions per week.
Rotate creatives every 10–14 days if the frequency climbs.
Budget
Start with 10–20 percent of your total ad spend.
Scale only when you see consistent purchases or leads.
Final Thoughts
Retargeting in 2025 isn’t about stalking users. It’s about meeting them where they left off and giving them a meaningful reason to return.
When your tracking is clean, your messaging matches intent, and your creative strategy respects attention, retargeting becomes the most reliable revenue driver in your Meta ads ecosystem.
If you want, I can also create:
- Multiple SEO-friendly titles
- Meta description
- Keyword list
- Internal linking plan
- CTA variations
- A shorter LinkedIn/Instagram summary for promotion
Run Facebook Retargeted Ads Today!
Running targeted ads can improve your ROI substantially. But when you pair it with an excellent creative, then your chances of conversion go up multi-fold.
But as a busy business owner with a hectic schedule, creating and designing an ad can be the last thing on your mind. And without design experience, this whole process can become a nightmare. To avoid this hassle, use an AI ads generator. With a whole library of templates and AI at your disposal, you can create converting ad creatives in a matter of seconds. That too with no prior design experience!
So, sign up today to get your free account and start creating stunning ads!