When it comes to managing your Instagram presence effectively, it’s essential to understand the tools and resources available to you. If you’re on the lookout for an all-in-one platform to streamline your Instagram management, look no further than Instagram Creator Studio.
The creator studio facilitates the management of posts, organizing, message threads, and insights from all of an Instagram user’s pages in a single location for content producers and Instagram users.
From setting up a creator account to a step-by-step guide on how to use its tools for various benefits, this blog explores everything you need to know about Instagram Creator Studio.
Let’s get started!
Instagram Creator Studio- An Overview
The Instagram Creator Studio was initially restricted only to Facebook pages. But things have evolved since Facebook introduced this exclusive Instagram program in 2020.
With Instagram Creator Studio, you can take control of your account, publish and plan content for next sharing, get statistical data on your account, and generate revenue from your content on a regular desktop website rather than a mobile app. Any Instagram user with a creator or business-type account can access the creator studio.
Businesses can use Creator Studio, especially for its manifold features and benefits, as follows:
- Access your Instagram account, including Stories, IGTV, images, and more, on the desktop.
- Concurrently switch between your Instagram and Facebook accounts. It means that you can access multiple accounts without having to log out of one.
- You can seamlessly post content that has been drafted and reschedule previously planned posts on Facebook and Instagram using Creator Studio.
- Produce content your audience finds engaging, and familiarise yourself with insights related to your profile and posts, such as engagement type, follower information, and traffic metrics.
- With more than 10,000 followers, qualifying accounts can oversee brand partnerships and profit from content.
- The titles and descriptions of videos are editable. You can also delete posts or set them to expire after a stipulated time.
- Every time a significant milestone hits, creators can receive notifications through the app.
Did you know you could make Instagram reels with AI? Check out how Predis.ai Instagram Reels Maker can transform your content creation process now!
Features of Instagram Creator Studio

1. Curate and Publish Content
The Instagram Creator Studio also has a feature to generate posts. The two content formats that Instagram supports are Instagram feed posts and IGTV.
It is not possible to draft or share Instagram stories or reels from the Creator Studio. However, it does permit the posting of carousels to your account.
2. Insights
The insights dashboard includes activity and audience insights. The activity tab tracks website visits, post visibility, and profile visits made by followers of your content.
The audience tab shows details about the identities, locations, and times of activity of your Instagram followers. To determine the ideal publishing occasions for your content, utilize this data.
3. Instagram Roll
You have the option to select and add pictures or videos to your feed. Editing, and incorporating mentions, captions, and hashtags are examples of final adjustments. The emoticons and the location can be added.
Additionally, the option to cross-publish the post on one’s Facebook wall is available.
Activating alt text and commenting are examples of advanced settings. You have the option of scheduling the publishing for another time or posting right away.
4. IGTV
To make IGTV videos, you can publish videos again from the Facebook page or upload them from your computer. At this point, you can add the thumbnail, description, and title. Decide where you would like to publish your article.
Similar to a feed, you have the option to save the content as a draft or publish it immediately.
5. Calendar
Essentially, the calendar tool is an organizer that shows your planned and published posts on a weekly or monthly basis. Clicking on a post will display an in-depth analysis and breakdown of the post’s success.
6. Content Library
All of your published Instagram content can be seen in the content library. Utilize it to assess how well your previous posts performed.
You can employ the tabs at the top to browse posts by content type, or you can arrange the content by publish date or performance. Examine your best-performing content and look for recurring themes to inspire fresh posts.
7. Monetization
The brand collabs manager, an application that assists in managing and organizing your current brand collaborations, is located on the monetization dashboard. Active Instagram creators with over 10,000 followers who satisfy certain engagement requirements can use this functionality.
Setting Up Your Instagram Creator Studio
Notably, in order to use Creator Studio and connect your account to the relevant Facebook page, you need to have a Business or Creator account. After completing each step, here’s how to link your Instagram account to Creator Studio:
Step 1: Go to the website of Creator Studio.
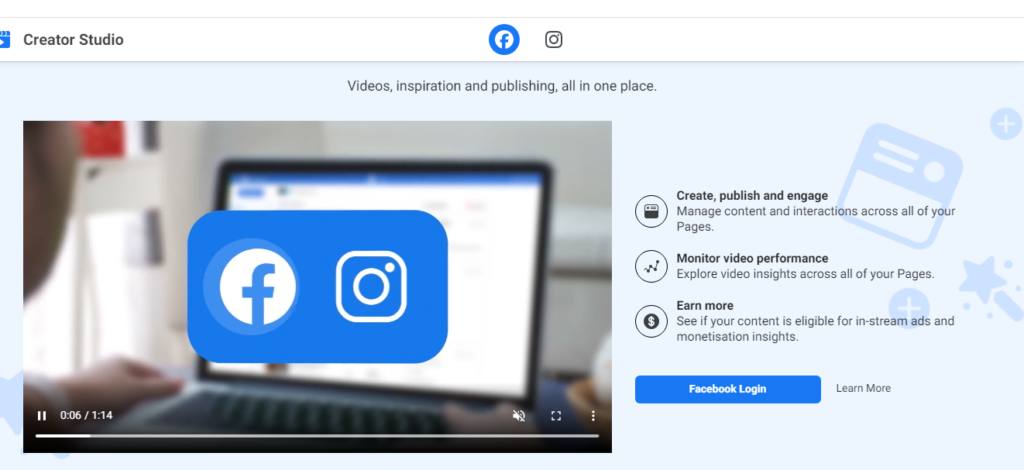
Step 2: At the top of the screen, tap the Instagram icon.
Step 3: To access your account, click the green Instagram Login icon and follow the instructions in the display window.
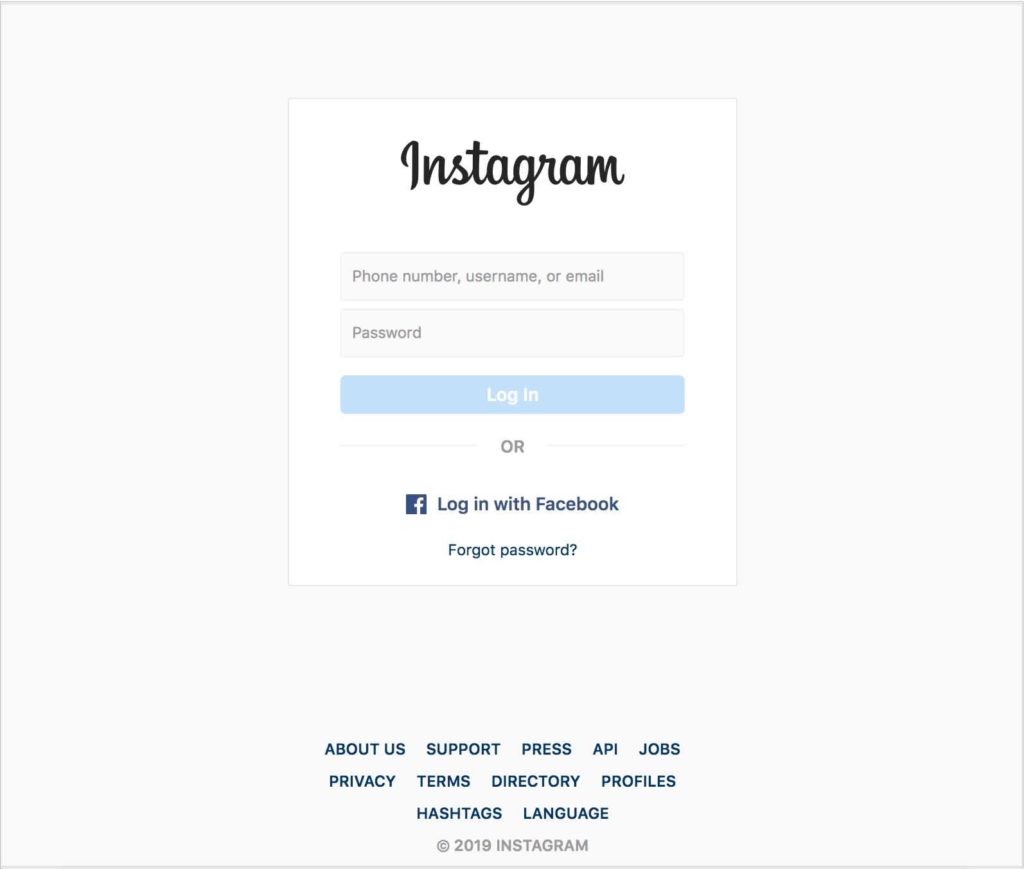
Step 4: As previously stated, you must link your account to an appropriate Facebook page. You can seamlessly link by following the on-screen guidelines.
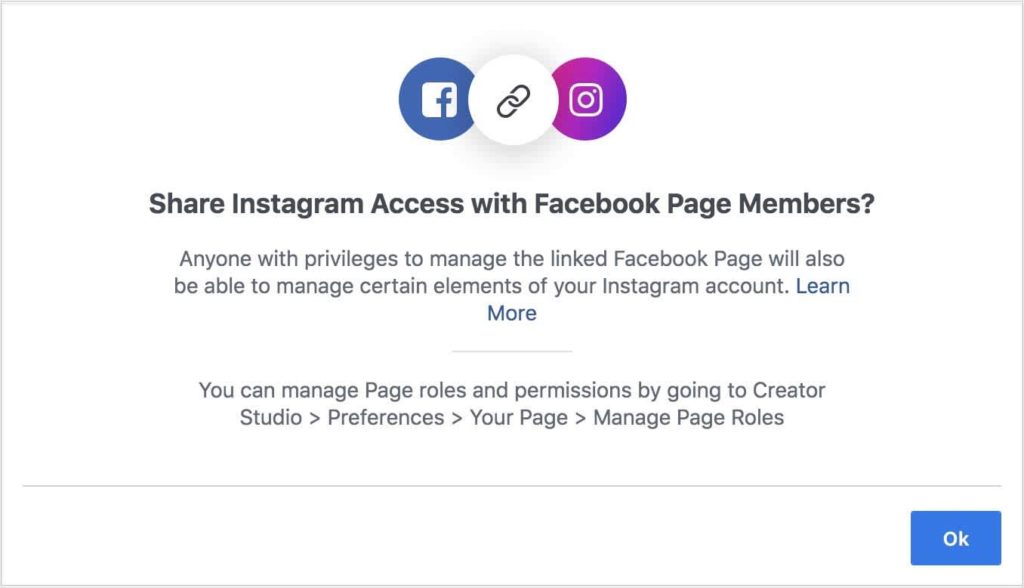
You are ready to use the platform after your account has been correctly linked.
How to Post on Instagram Creator Studio?
You can plan posts, upload content, and check account analytics with Instagram Creator Studio. When you first link your account on the Creator Studio dashboard, you’ll see a quick summary of your profile content library, which includes images, videos, carousels, Stories, and IGTV material. By selecting specific tabs, you can examine each kind of content independently.
This is a comprehensive tutorial on using Instagram Creator Studio to upload pictures and IGTV.
Posting an Image on Creator Studio
Step 1: Visit the Creator Studio website
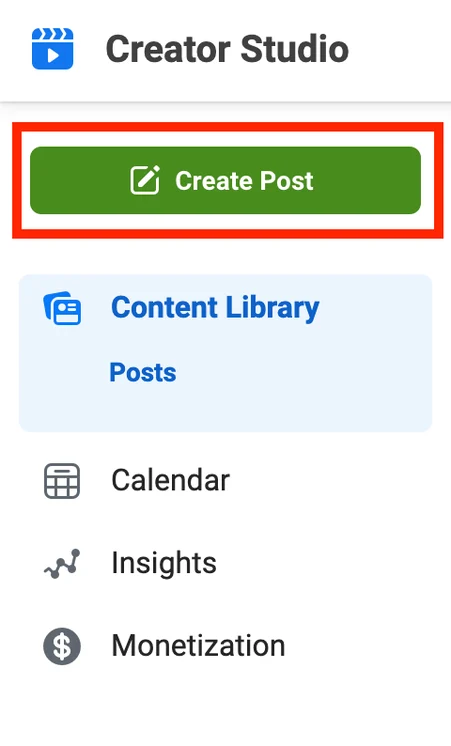
Step 2: Click the green “Create Post” button located in the upper left corner of the Creator Studio menu. You can create an IGTV or an Instagram feed post.
Step 3: The pop-up window will appear when you choose Instagram Feed. Here you can add captions and tag locations to your photos.
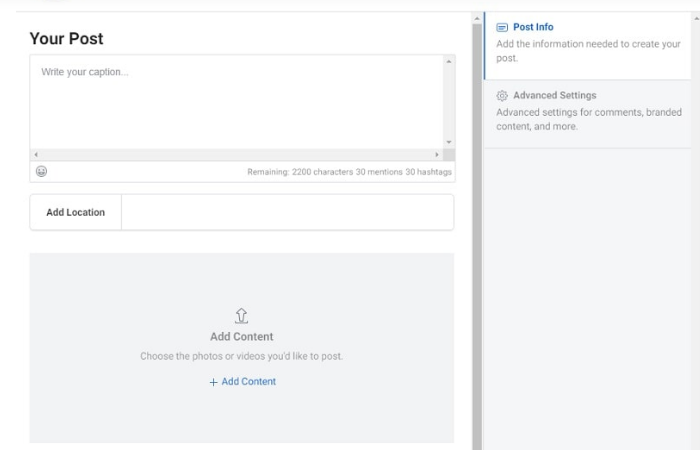
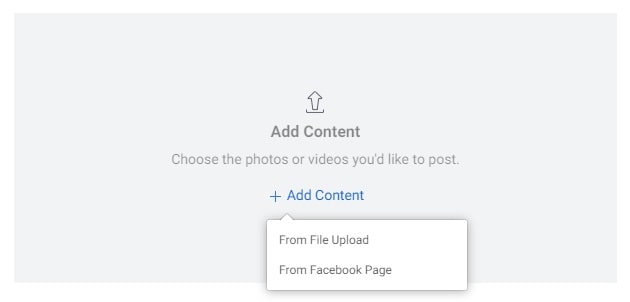
Step 4: To select the file you wish to publish, tap “Add Content.” It can be uploaded from a Facebook page or your desktop gallery.
Step 5: You can select the “Tag Media” icon located beneath the post to include accounts in it. In your post, tap any place to type in the username of the profile you wish to tag.
Step 6: In case you wish to disable comments on your post, simply turn off the comment option available in the advanced settings section on the right side of your screen.

Step 7: When you’re ready to post, click the blue “Publish” button in the lower-left corner of Creator Studio.

Posting IGTV Video on Instagram Studio
To add an IGTV video to Creator Studio, do the following actions:
Step 1: When the “Create Post” menu appears, press the green option and choose IGTV. You’ll be able to add a title, overview, and video in the window that appears.

Step 2: Include a title and description for your video when you upload it.
Step 3: If you want to post the IGTV video to your feed, tick the box next to “Share Preview To Feed” under “Select Where Your Post Will Appear Title.”

Step 4: To alter your Instagram cover photo, select the Cover Image option on the window’s right side. Moreover, you can ask Instagram to create a photo for you or use a sample of a video frame.
Step 5: After you’ve decided on everything, click the blue Publish icon in the lower right corner of the page to share your post on Instagram.

How to Use Creator Studio Efficiently?
Now that you know how to post on your creator studio, let’s explore the various tools offered by the platform and ways to navigate through it.
1. Insights and Analytics
By selecting the Creator Studio Insights option, you may discover more about your audience and how they interact with your content.
The precise metrics that you’ll obtain are as follows:
- Audience: Information on the top cities and countries in which your followers are located, together with their gender and age range. Additionally, you’ll see when they’re using the platform most often, allowing you to plan your posts for that time. You can use Predis.ai to create engaging posts in bulk and start scheduling them for the preferred time.
- Activity: Details about the interactions users have with the account. This covers the number of people who see your posts, the impressions they receive, and any actions people take (such as clicking on links on websites or tapping to find recommendations).
Here’s a brief tutorial on using Instagram Creator Studio:
1. Select the Insights tab, which is on the right side of the screen, from the Creator Studio dashboard.

2. Using the drop-down option, select between Activity and Audience.
3. Go to the relevant tab to learn more about the involvement or action on your profile. If you choose Activity, for instance, you would have to have access to the overall amount of impressions, emails sent, visits to the website, profile visits, and other actions made on your account over seven days.

When you choose Audience, a bar graph will appear with the age and gender distribution of your followers, app activity times, and demographic data.

2. Scheduling Posts for Optimal Times
Use Instagram Creator Studio to schedule a post in a similar way that would work if you were uploading an IGTV video or something to your Instagram feed. Next,
1. Choose the downward Arrow by navigating to the blue Publish button located in the lower right corner of the screen.
2. Choose the date and time that you would like your post to be published in the popup window, then adhere to the directions that appear.

3. Once you’re content, schedule your post by clicking the blue Schedule button. Next, a set of your planned posts ought to appear in your content library.

3. Monetization Options
The Monetization tab is accessible from every account. A qualifying account, however, must have 10,000 followers or more, be consistently engaged over the previous month, and have no previous record of content infringements. You can monetize your Creator Studio account in three primary methods:

- Through advertisements: You can monetize your page by including in-stream advertisements for Live events or videos on it.
- Community support: You can monetize your viewers and followers by offering paid online events and subscriptions.
- Utilizing branded content: Leverage paid partnerships to expand your business by utilizing marketing tools.
Choose the “Monetization” tab from the menu on the left to access the Monetization page. All of your monetization options will be displayed here, along with an eligibility check.
With Predis.ai’s Instagram Reels Maker, you can explore the power of AI to create captivating reels that will captivate your audience effortlessly. Check it out now!
Takeaway
If you want to boost your account’s performance and keep an eye on its progress, Instagram Creator Studio should be your go-to tool.
With its help, you can seamlessly preserve and enhance your Instagram activity once you have access to comprehensive performance data, insights, a daily activity log, and categorized information about your followers on the creator studio.
For more such guides, head over to Predis.ai. And if you’re on the lookout for tools to help you create compelling Instagram posts, head over to Predis.ai Instagram Post Maker to elevate your content creation game in 2024.
